
Your native App(s) may then be built and deployed to the respective App Stores (for mobile devices) or locally on your own download server (if the App is only to be used on Desktop computers by users you wish to give a link to).
The complete Visual Studio and/or VS-Xamarin projects enable onward development in a native environment using all the power and versatility of Visual Studio (and VS-Xamarin) as required. In doing so, the developer is given the best of both worlds - quick and easy application construction along with unrestricted enhancement and customization capabilities.
Native Apps
-
Base web app - the Web App generator profile that will act as the basis of the Native App. The main aspect used here is the Visual Studio folder path used by the Web App
-
App title - the name of the App
-
App description - a simple description of the App
-
Root namespace - the namespace to be used by the C# code generated within the Native App Visual Studio project
-
Deployment URL (Dev)
-
Deployment URL (test)
-
Deployment URL (QA)
-
Deployment URL (live)
-
Generate Code - checkbox, selected against the different platform types, indicates that the Native App code for this platform type will be generated by Evoke as part of the next code generation. Each platform Type will have its own separate and dedicated Visual Studio Solution and project.
-
Target Folder Path - automatically generated by Evoke to ensure the folder names are unique and descriptive. It is possible to change these folder path names if you wish but these are the recommended names.
-
Open in Visual Studio - button, included for convenience. After a generation clicking this button will open the Native app solution for the platform type in Visual Studio.
-
Web UI Only - The Windows and Mac OS X desktop platforms have an additional setting of Web UI Only. This allows you to indicate whether only Web App UI content is to be used (i.e. no native Winform/WPF/Xamarin UI). Ticking this box will provide a small level of performance and resource usage improvement.
-
Clear Target Folder - Evoke preserves any customisation that you have added to your Native App Visual Studio each time you generate the App. However, there may be times that you wish to clear all customisation automatically and delete all previously generated files in the Solution when you generate the app.
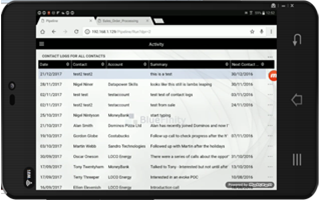

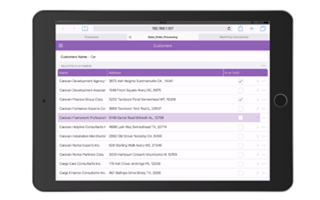
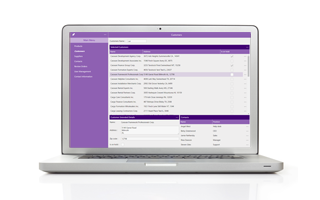
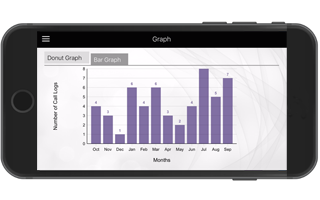
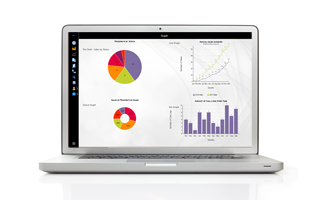
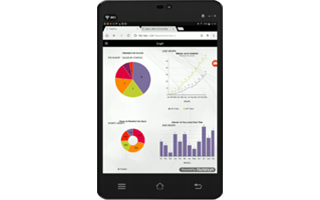
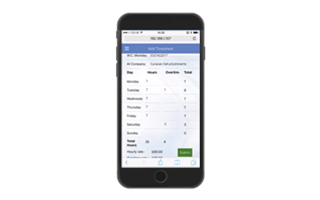
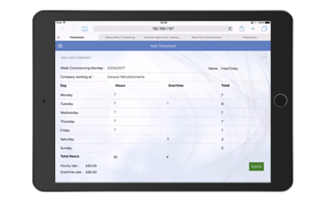
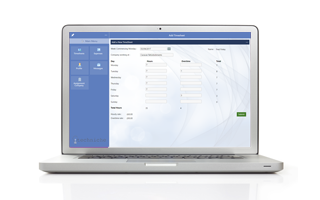

Generate Native App
Visual Studio

Although you can open Visual Studio and select the 'open solution' option to locate the *.sln file in target folder path folder, the easiest way is to click the "open in Visual Studio" button on the line of the platform you wish to open and it will have automatically opened Visual Studio and your native Evoke App solution for that platform.
Native App Deployment Mode
After testing is complete and you want to deploy your native app you will need to open, in your Visual Studio project the file AppGlobal.cs which you will find in the Xamarin Shared project - App Folder. An image of this file appears below and you can click on the image to make it full screen.
public static DeploymentModeType DeploymentMode = DeploymentModeType.Development; // Change to use the relevant deployment URL
to
public static DeploymentModeType DeploymentMode = DeploymentModeType.Live; // Change to use the relevant deployment URL
Build your Native App
Back in your Windows File Explorer - parse to {location of your *.sln}\Native\WinDesktop\Setup (substitute WinDesktop for platform build name). Here you will find a text copy of the click through license you want people to click through and an *.NSI file.
You need to compile the NSI file to create an installer for your app. There are a number of good third party compilers - we use NSIS.
You will now have an installer that you can use to install your app.
You will need to click this Container form to to open it in the Visual Sudio main window.


