


On a desktop computer you can choose if the user will see either the "hamburger button" menu, a tiled menu, a icon/text based menu, a text only menu or a minimal menu (just the icons) when they open your app.
On mobile devices the traditional "hamburger button" menu will appear, top left, as the default menu. Clicking the "hamburger button" will reveal the menu in the style you choose from the list above.

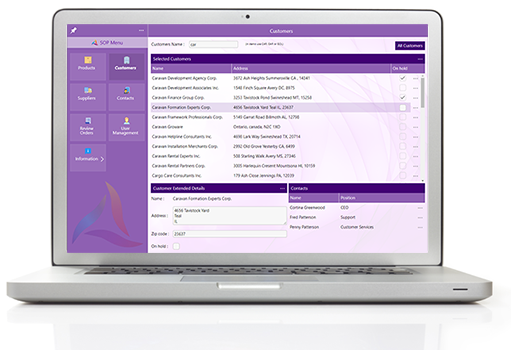
Your app users can select their own menu style, when using the app, or pin/unpin the menu between the desktop style and the hamburger button style.
They simply use the ellipsis menu available at the top of the menu bar in each app (see image left) to select their prefered menu view.
-
Set the colours for the menu background, header, etc.
-
Add a help button in your App menu that will allow your App users to access App specific user help (that you are able to set up). Choose 'in app' help screens or access an external URL for context sensitive help web pages.
-
Display a Logo or corporate message that will appear, near to the bottom, on the menu bar of your App.
-
Change the default Main Menu Text and add a small icon/logo to be included with the text.
-
Customise additional images and styles of you app menu.
-
The menu caption
-
If you want a icon next to the caption and pick the image from your computer
-
If the menu should be available when the app is running offline
-
Change the order of your menu captions
-
Add or remove menu items

"Caption" - this is the name that will appear in the app menu.
"Name" - this is the internal Evoke name for this menu item.
"Show image" check box - Once checked two new entry boxes appear. In the new entry boxes you enter the paths to TWO images:
-
a light image "Image (white) path" and
-
a darker image "Image (darker) path".
"Page Series" is the Page Series that this menu item is linked to (see Linking menu items below).
"Network Connectivity Mode" indicates if the menu should be available when the app is running offline, this setting is described in more detail below
"Access Control Summary" describes any specific user security or navigation controls and is described fully in the Access Control section below.
Please remember to also set the title image in App Settings. See 'Show main menu title image' (Checkbox), in App Settings, which controls the image used in the menu title.
The menu images are to be uploaded in two formats as they are used against a dark and a light background. These images must be fixed sizes: 28px height and 28 pixels width. If you wish to use double, triple and quadruple density images to have extra crisp images on different density displays then in addition to the initial image selected, upto three further images can be placed in the same location (Windows folder) as the initial image. Use the naming convention "initial image name@2x", "initial image name@3x","initial image name@4x" with sizes 56px by 56px, 84px by 84px and 112px by 112px for the additional images.

-
Visible and Enabled for this user
-
Visible and Disabled for this user so the user can see it but maybe not use it until they upgrade to a premium account or similar.
-
Not visible or enabled for this user


-
Always
-
Online-only
-
Offline-only
This setting indicates that the menu node will always be displayed (and can therefore be selected by the user) irrespective of the current status of a data connection on the native device.
This setting indicates that the menu node will only be displayed if there is currently a live data connection available on the native device.
This setting indicates that the menu node will only be displayed if a live data connection is not currently available on the native device.